


Mensioned quite a lot, just thought to post it. It was made by Benheck a while ago
The 1st Page (With links to page 2, 3 , 4 and 5)
Intereasting Parts
Originally Posted by Part 2 Tube Test
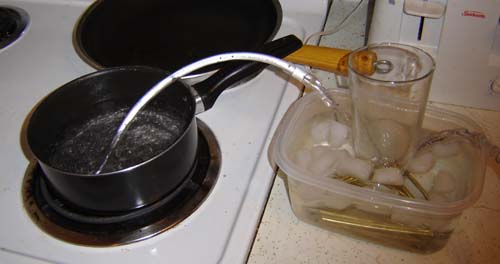
My plan for the custom radiator is 20 1/8" pipes that split the main water tube 4 ways. Thus, each of the 4 paths goes through 5 of the tubes in the radiator circuit. Also by having an odd number of tubes for each path it ensures the output is at the opposite end of the input. Finally all of the tubes are mounted through about 32 thin aluminum fins. The week I tried this I was unable to get any aluminum CNC machining done so I could only test the very basic idea, as shown below.
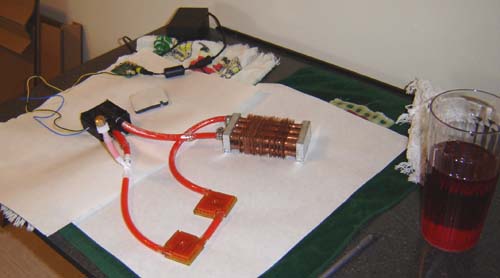
First tubing testSurely not the best test but oh well. It could be done with, and I quote "common household items" There's 4 lines of interconnect brass tubing with 5 4.5" long links each. This was placed in a tub with ice water and held down with a glass. Then the 4 lines combine into a 1/4" tube at both ends to represent what will be coming off the heat sinks. Finally I put one end in, ahem, a pot of boiling water and sucked on the other end. The water came out, well, not AS hot so I guess this sort of works. I plan to use aluminum tubes for the actual unit, and of course the fins.The original plan I had for the radiator has been thrown out the window. Well, not how to make it but what size. The thing is, the size of the screen I bought increases the overall size of the case, thus, I have more room for things. The obvious benefit is a bigger radiator using larger tubing.
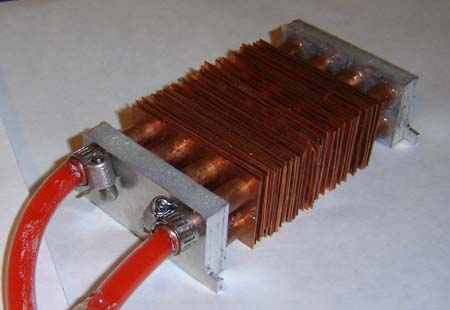
The radiator of myth and legendI am definitely one of those "why buy it when you can build it for twice the price?" kind of people, although with the exorbitant pricing of anything water-cooling related this custom radiator was probably a bargain. OK in the case I have an area of about 2.5" x 1.5" x 5.5" in which to put the radiator. Basically in the area in which the original fans sat, but twice as deep. After looking for some radiators online I realized nothing would fit that area as I pleased so I immediately jumped - much to the chagrin of the client - to the idea of making my own radiator.The controversial part of my design was the lack of bends in the copper tubing. These would take up space and increase the size of the unit, or I'd be limited to few runs of pipe. I had my heart set on 8 pipes, so the fluid has plenty of time to cool off, so the way to do this was by having hollow end sections cut from aluminum that would channel the fluid as needed to make the circuit.
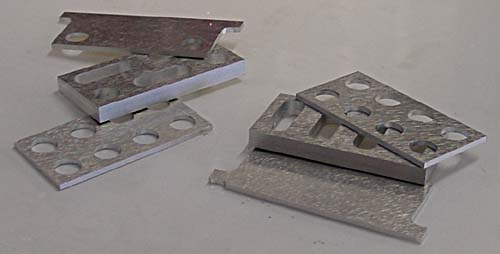
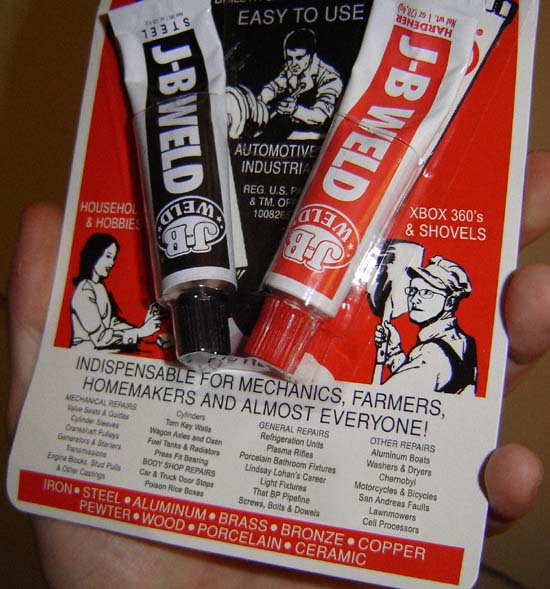
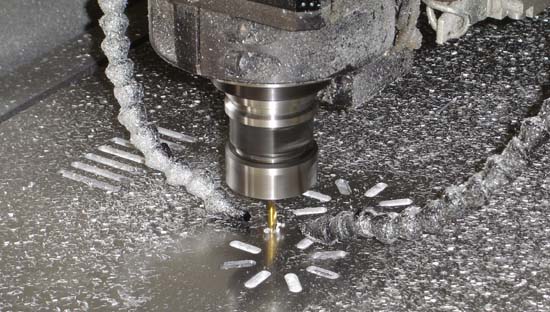
The radiator parts, shortly after being cut.42 (of course) copper fins were slid down the pipes to pull off the heat and the aluminum ends were assembled and attached to the pipes. Don't throw stones at me, but it was actually just JB Welded together! It's good to 500 degrees, and if the XBox gets THAT hot I've got other problems!The parts were routed so accurately that everything fit very tight already and we just needed a waterproofing. During the gluing and hammering smoke was blown through the thing to find any air holes and plug them before it all dried (Remember kids - don't smoke while making your own custom radiators for Xbox 360 laptops - it's not good for you)
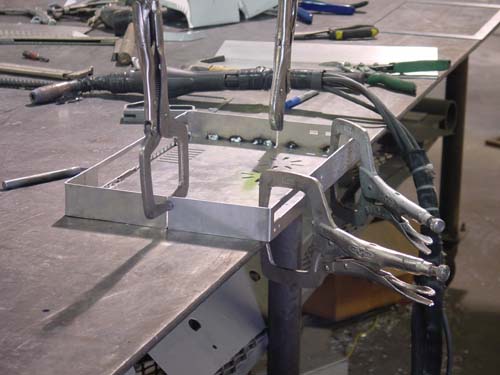
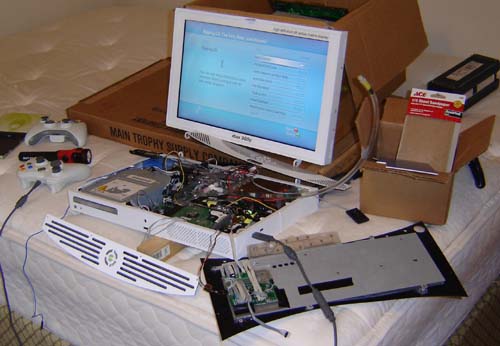
A scene from "Underworld 3: More Shots of Kate Beckinsale's Butt?" Nope, just my radiator test, sorry.I used red food coloring for the 24 hour "leak test" because if it failed I wanted it to gush like a gaping wound! Well, and leave visible marks on the paper. In the background there you can sort of see the Gamecube power supply I'm using to power the pump with 12 volts - when it fires up it consumes something like 3 amps. It then settles down to a still kind of high 1.2, which I hope I can either steal off the Xbox or monitor's power supply. We'll see...Postscript:As I write this I'm in hour 7 of the test... Mike Adsit helped me hammer together the radiator, even though he insisted it would never work. I told him "Look, it's cool, all made of copper, just like the Statue of Liberty!" To which he replied "Yeah, and it'll be surrounded by water too!" Granted, pretty much everyone who saw the thing didn't think it work would so I hope to hell it does. Then I can laugh maniacally at them.Now it's time for the real meat and potatoes of the project - a case. We all know that's what makes it really special. For this device, I decided to make my first all-aluminum casing, both to sink heat and to support the weight of the water, DVD drives and large screen. I created the case by routing parts out of .080" aluminum and having it welded together, as shown below:
The Sabre 408 routing the first parts of the case. Yes, it is quite the mess.
First piece attached, ready for bending.
The lower portion of the case takes shape.
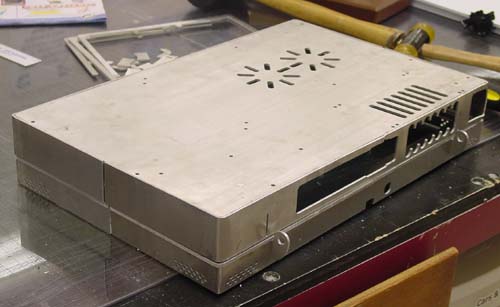
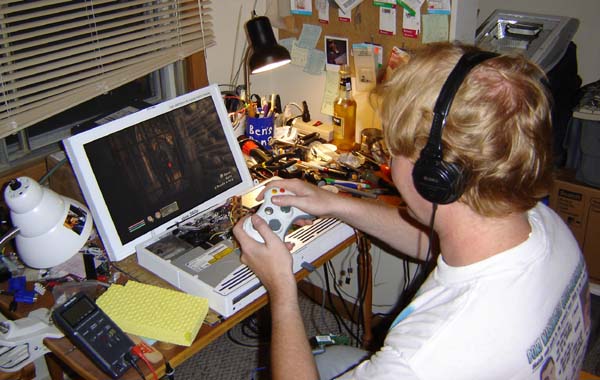
The assembled case pieces laid atop each other.This is the first photo of the unit in the casing and running. However, I kept finding bugs (mostly with the water-cooling but also with other things) so the last few days have been a vicious cycle of:1)test system2)find problem3) tear it all apart4) fix problem5) put it back together6) find new problem.7) get discouraged and drink beer8) go at it againHere I am late the night of August 4th, playing Oblivion on the system. No speakers yet, just headphones (they plug into the right side of the monitor) The goal here is to play until a problem crops up - note the sponge at the ready. Bits of sponge are also packed inside the system in case of mishap. I start saying to myself - "Oh water-cooling, what a BRILLIANT idea Ben!"
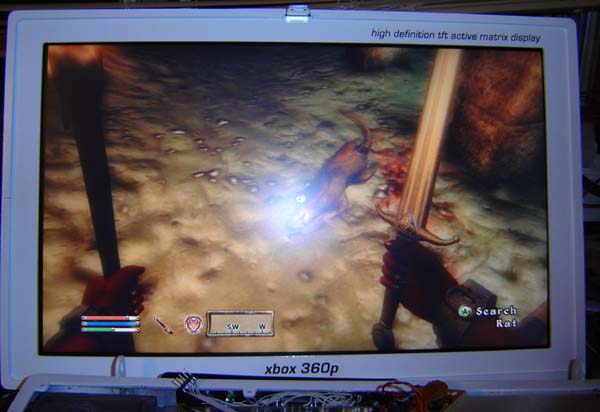
Ah, game testing always goes better with a delicious hunk of fresh, uncooked Rat Meat. I have to say, playing the games in high-definition is a marked improvement over regular TV's. The menus are shaper, edges are cleaner and well, it just plain looks better. Plus the widescreen is cool too.We'll fast-forward now to the end of August. Testing continues, profanities fly and the reservoir goes through 5, yes, FIVE revisions before I finally build one the way I should have all along. In the end I use a piece of square aluminum tubing with top and bottom caps and threaded-in hose barbs. A month of my life, gone forever. Sigh. At least next time I know what NOT to do.
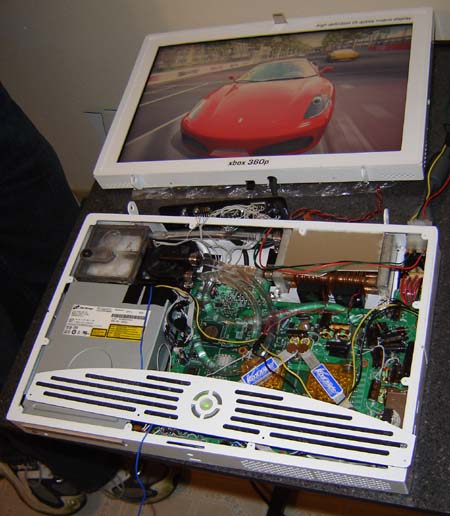
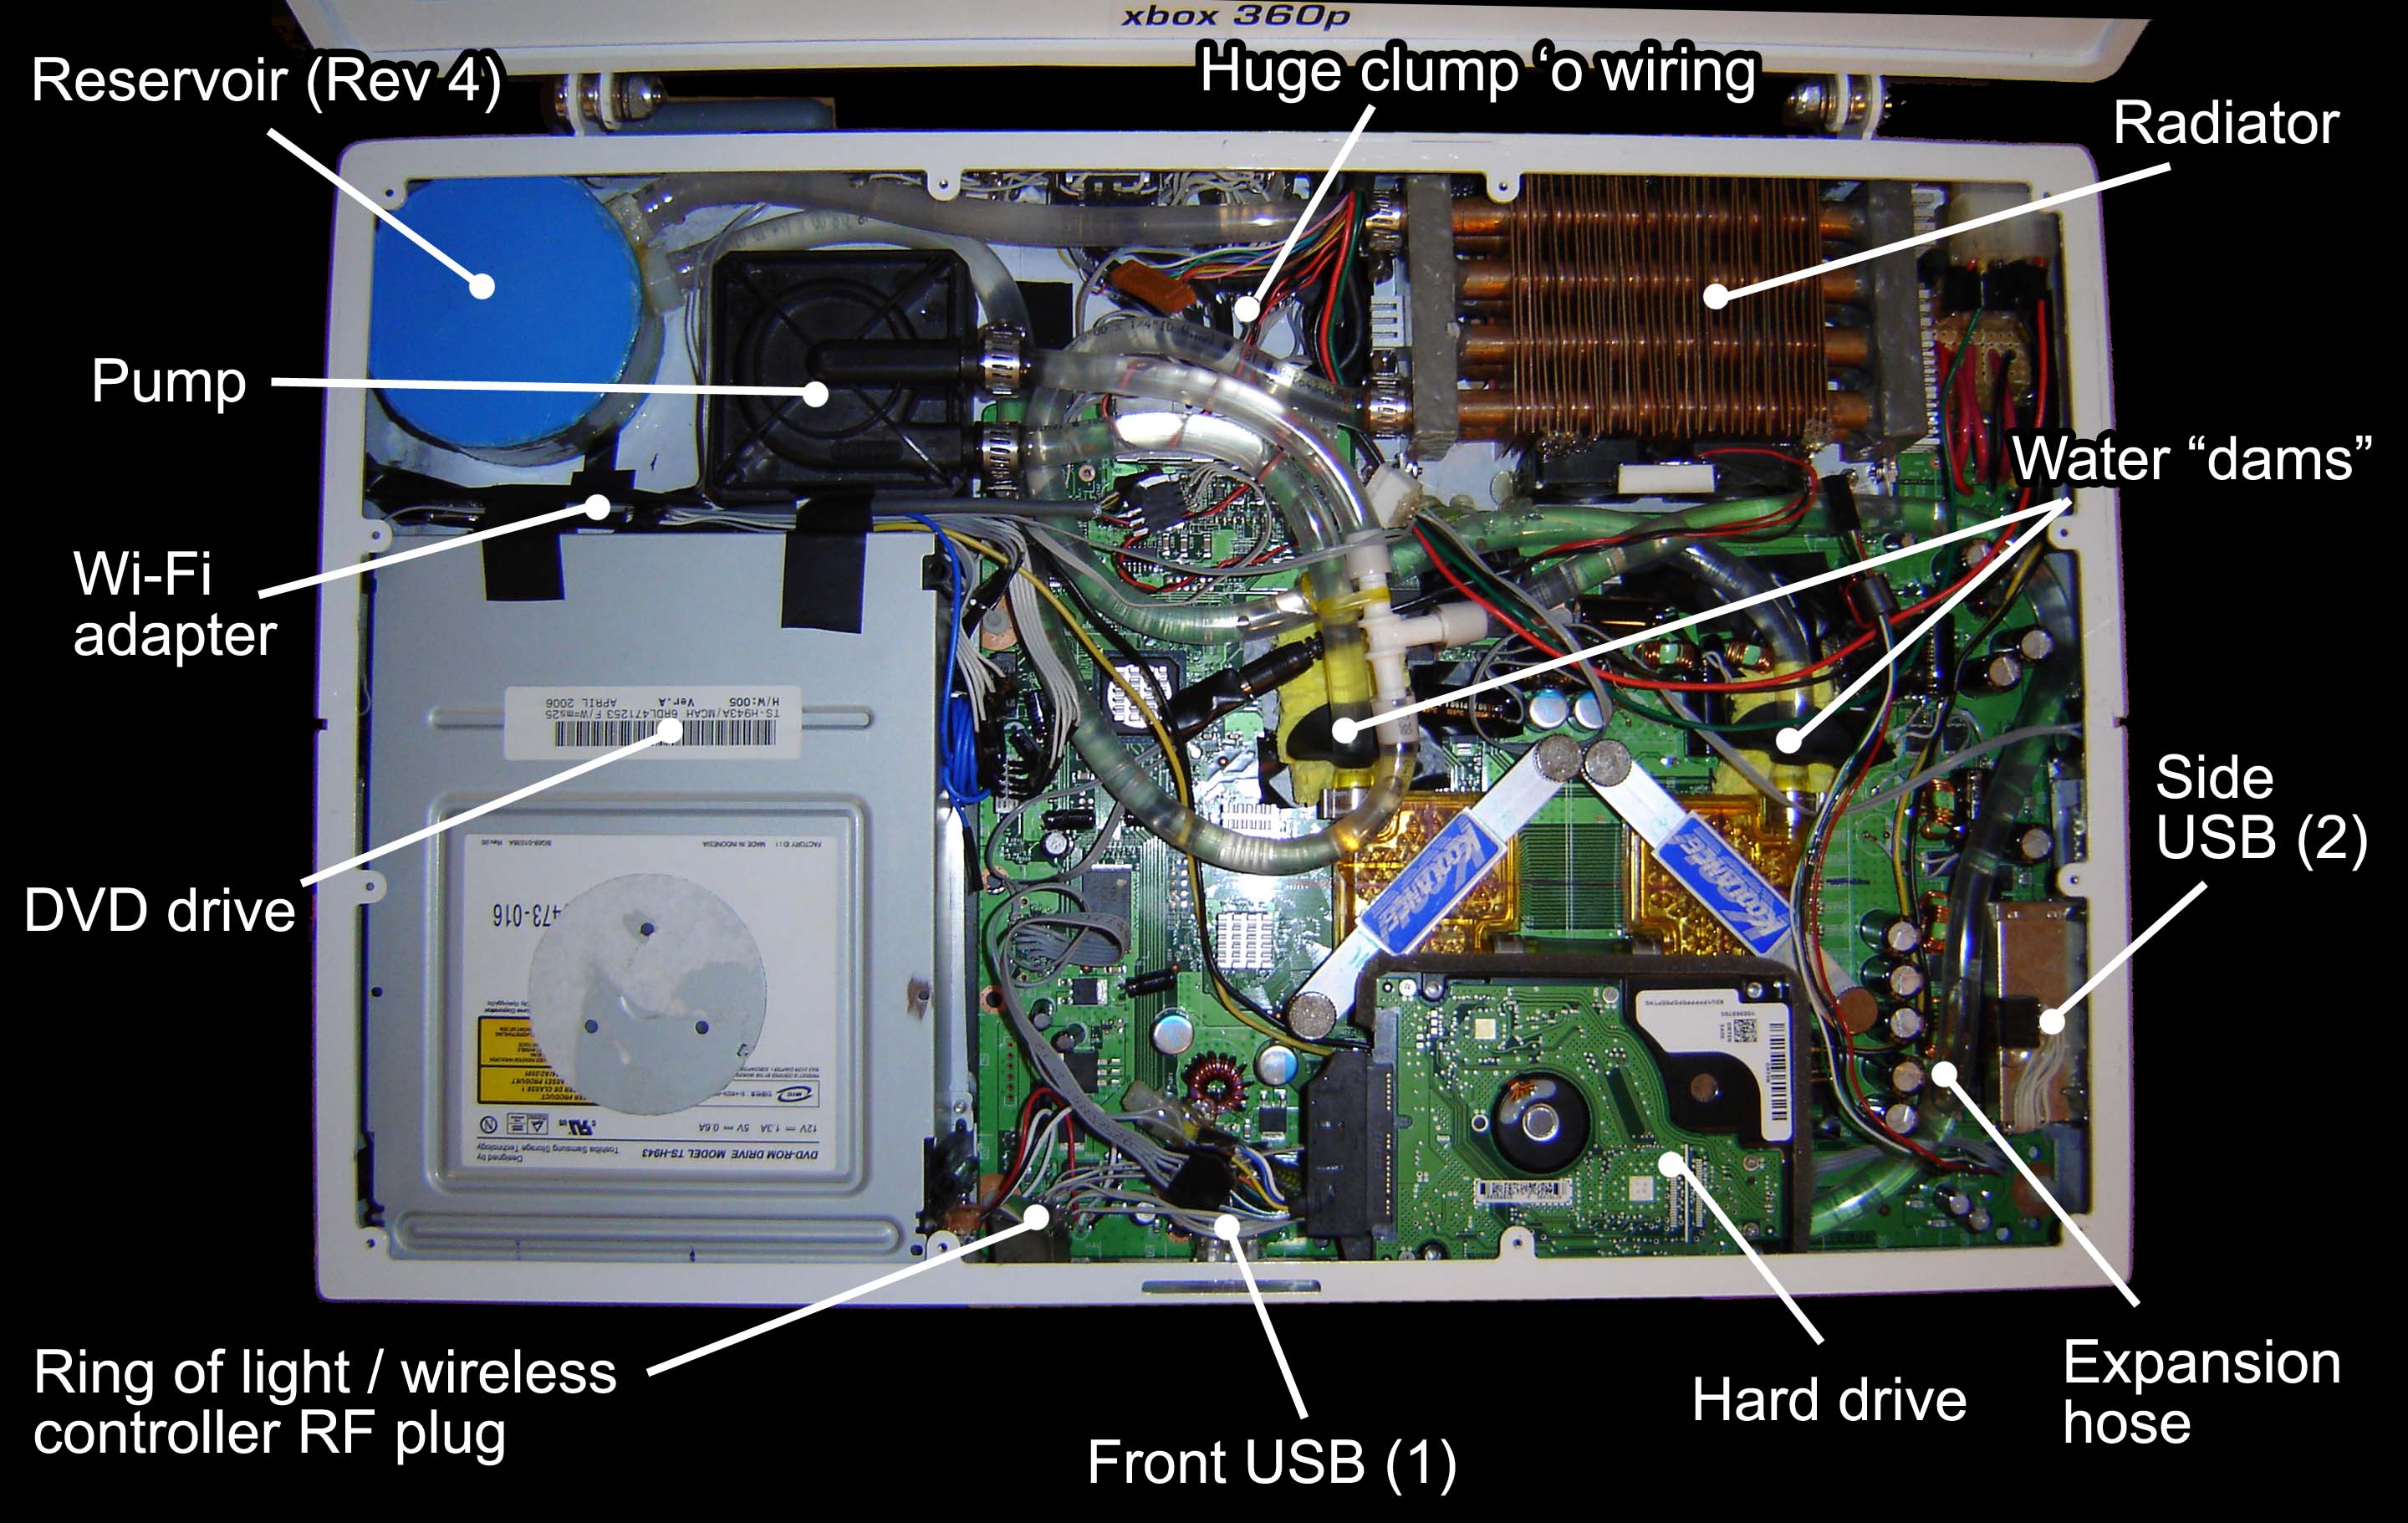
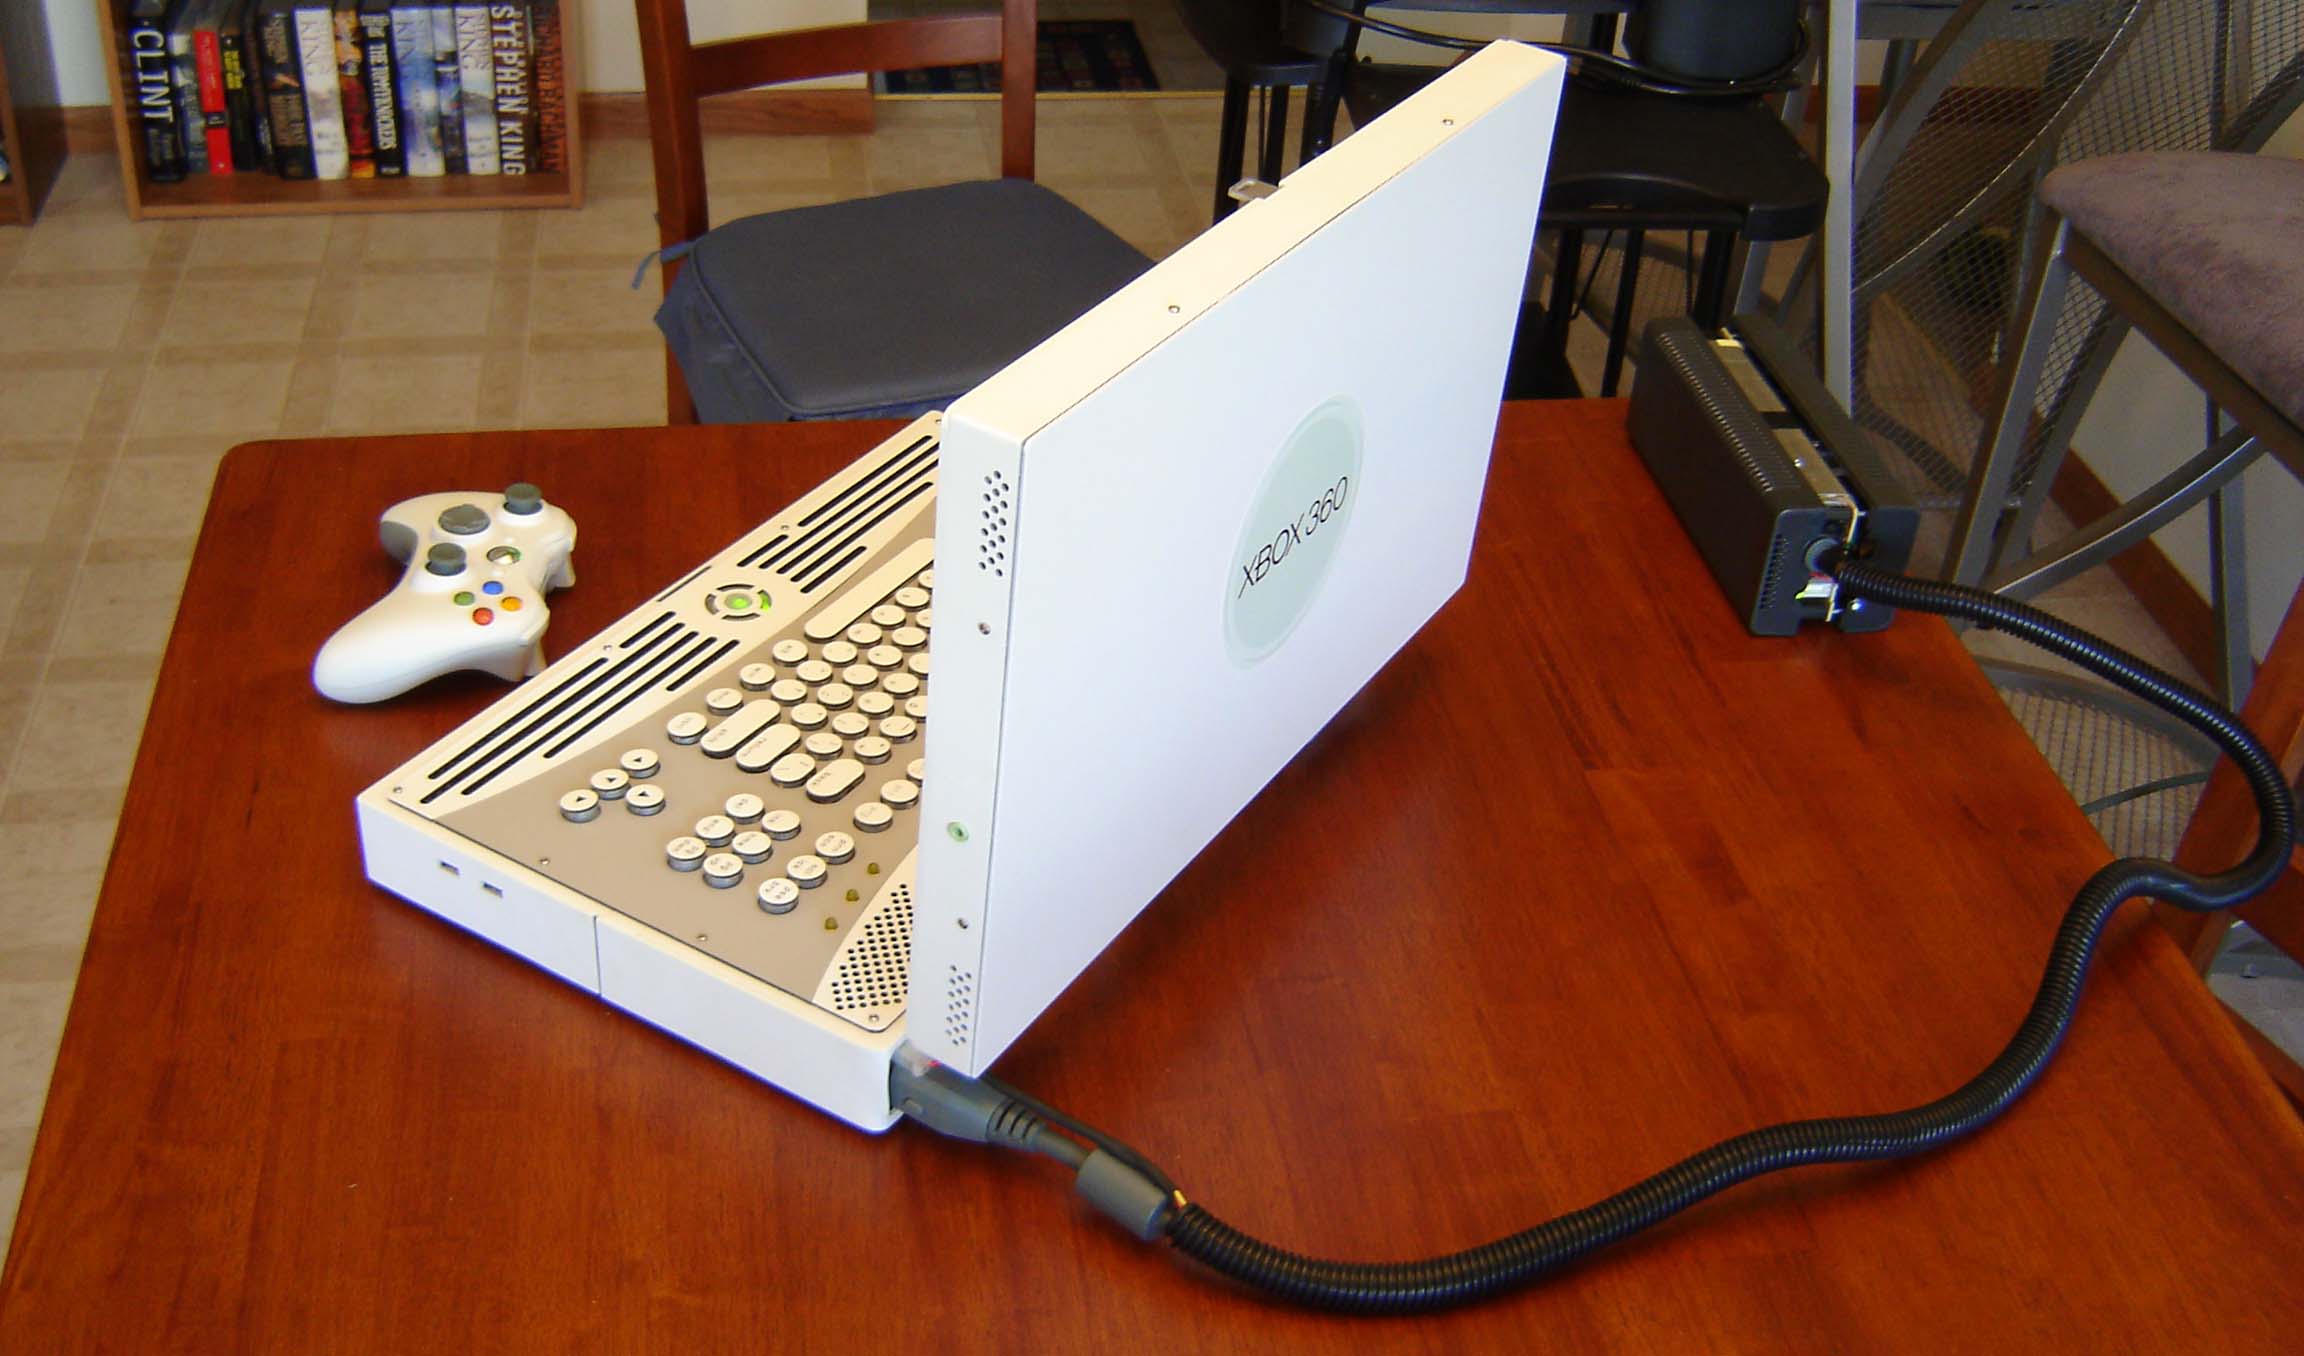
Xbox being tested on laundry day. You can see the Ring of light portion, keyboard and, well, everything else hanging off it.The inside of the Xbox 360 laptop case, with labels:Kthxbai.With all the troubleshooting done I could finally assemble the last bits of the unit, seal it up and complete it. FINALLY. This mostly involved installing the front plates such as the keyboard, ring of light and screen controls. Here are several photos of the completed unit:
Photo behind the 360 laptop, with super power plug.
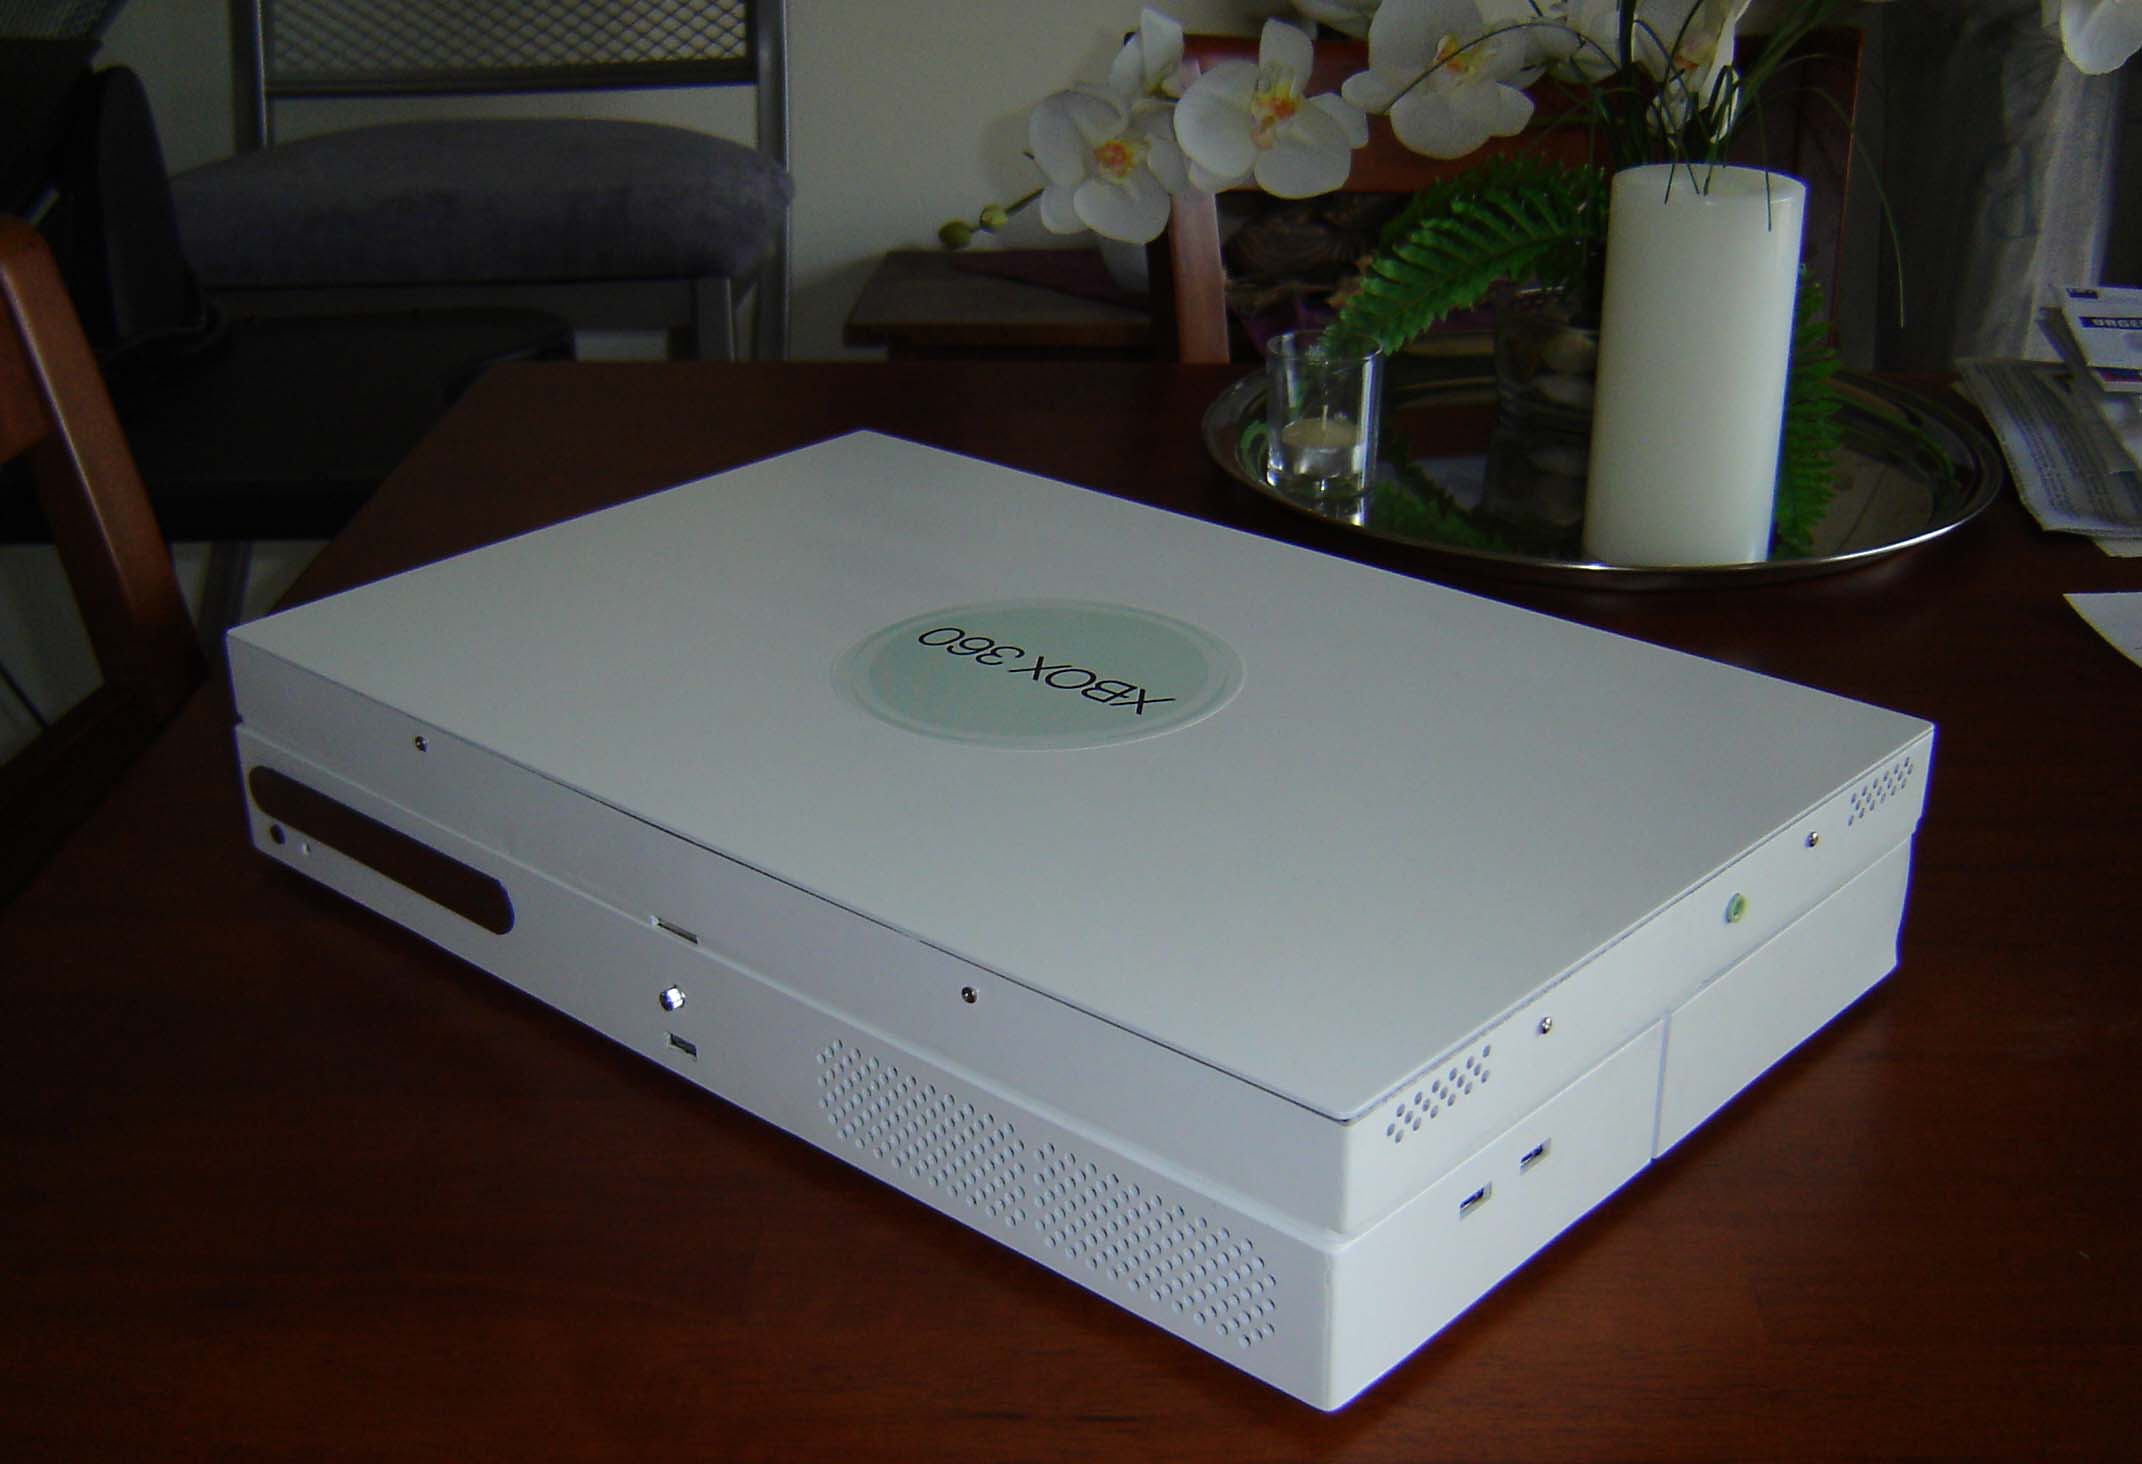
Click image for larger version.The finished unit, loaded with distilled water, weighs about 14 lbs, according to my bathroom scale. Of course, I'm not always inclined to believe THAT thing
Xbox 360 laptop, closed, on table.
Click image for larger version.The total thickness of the final unit is 2.8 inches. My goal was for it to be under 3, so I'm happy.
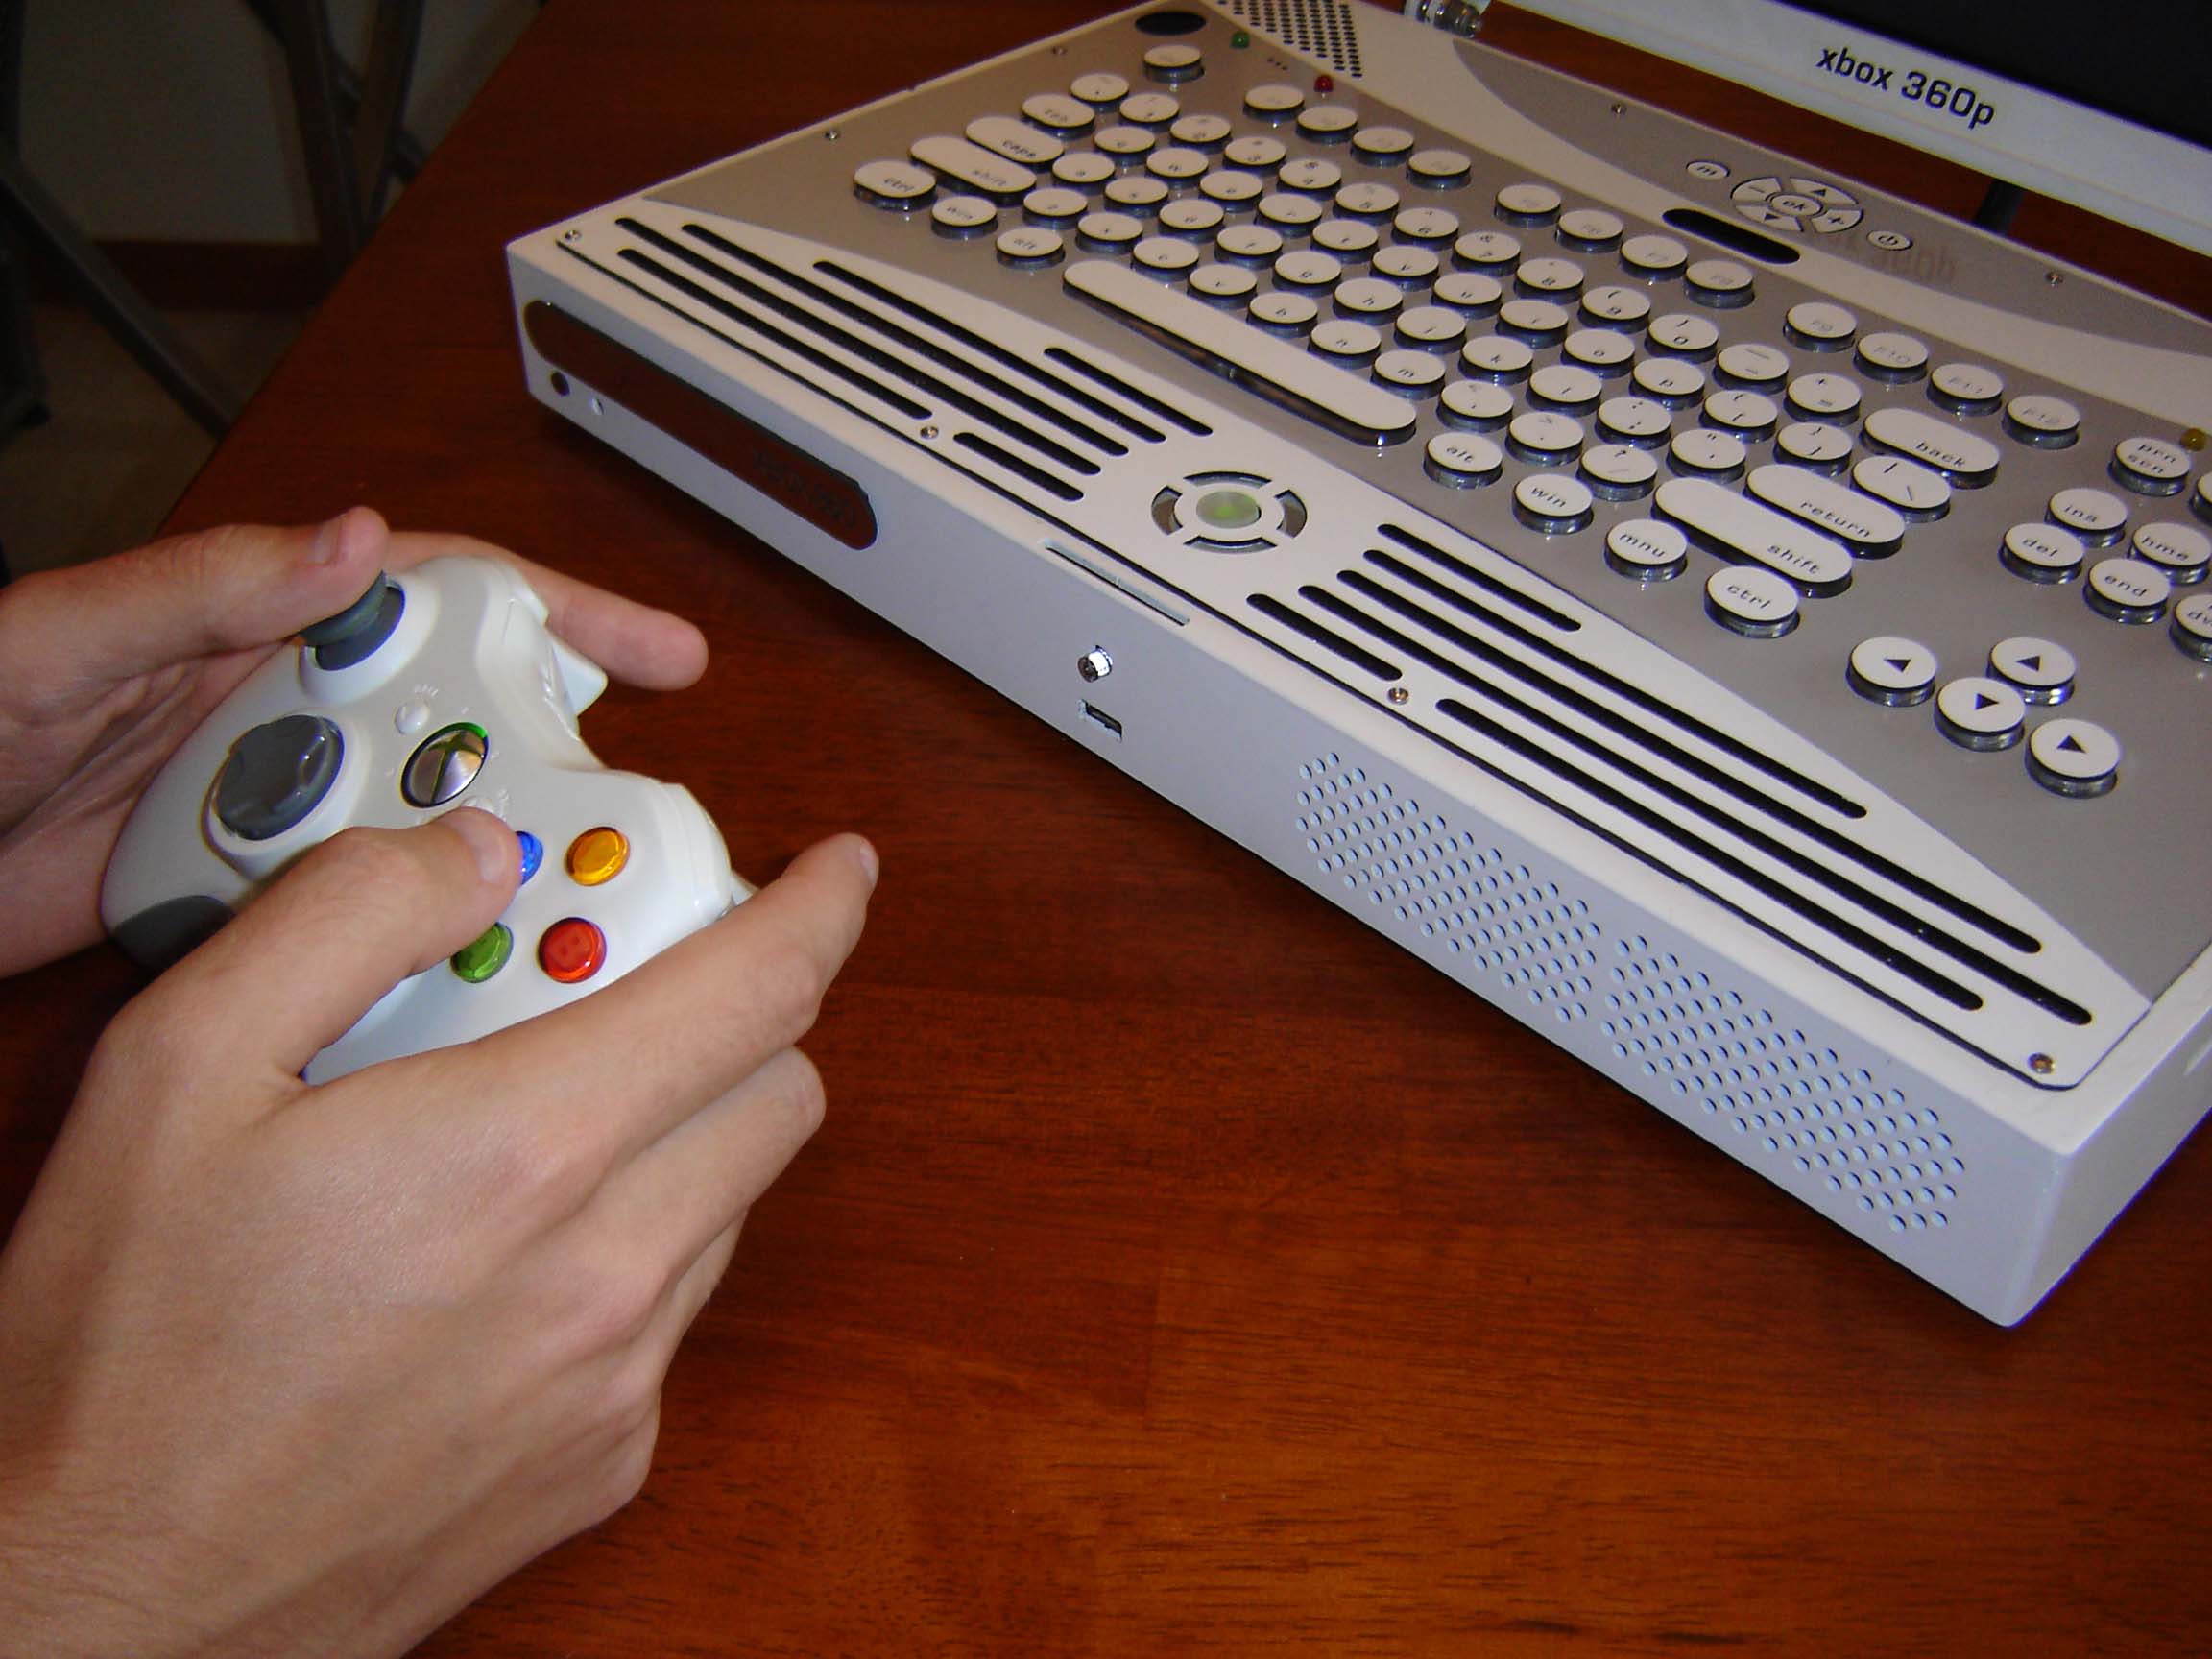
Front detail, with controller.
Click image for larger version.Here you can see the eject button for the lid (front, near the Ring of Light) and front exhaust holes which have their own fan. Inside one of the holes is the "Bind" button for the controllers.
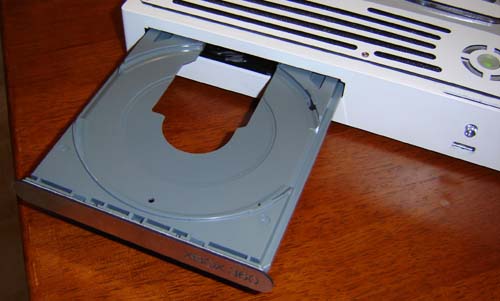
The DVD tray, in "eject position" Note the lid open button and front USB port on the right. Noted? Great.The DVD tray BARELY fit through the hole I had cut, even after I hand-Dremeled an extra bit of room at the top. Oh well, I'll take barely fits over DOESN'T fit any day!
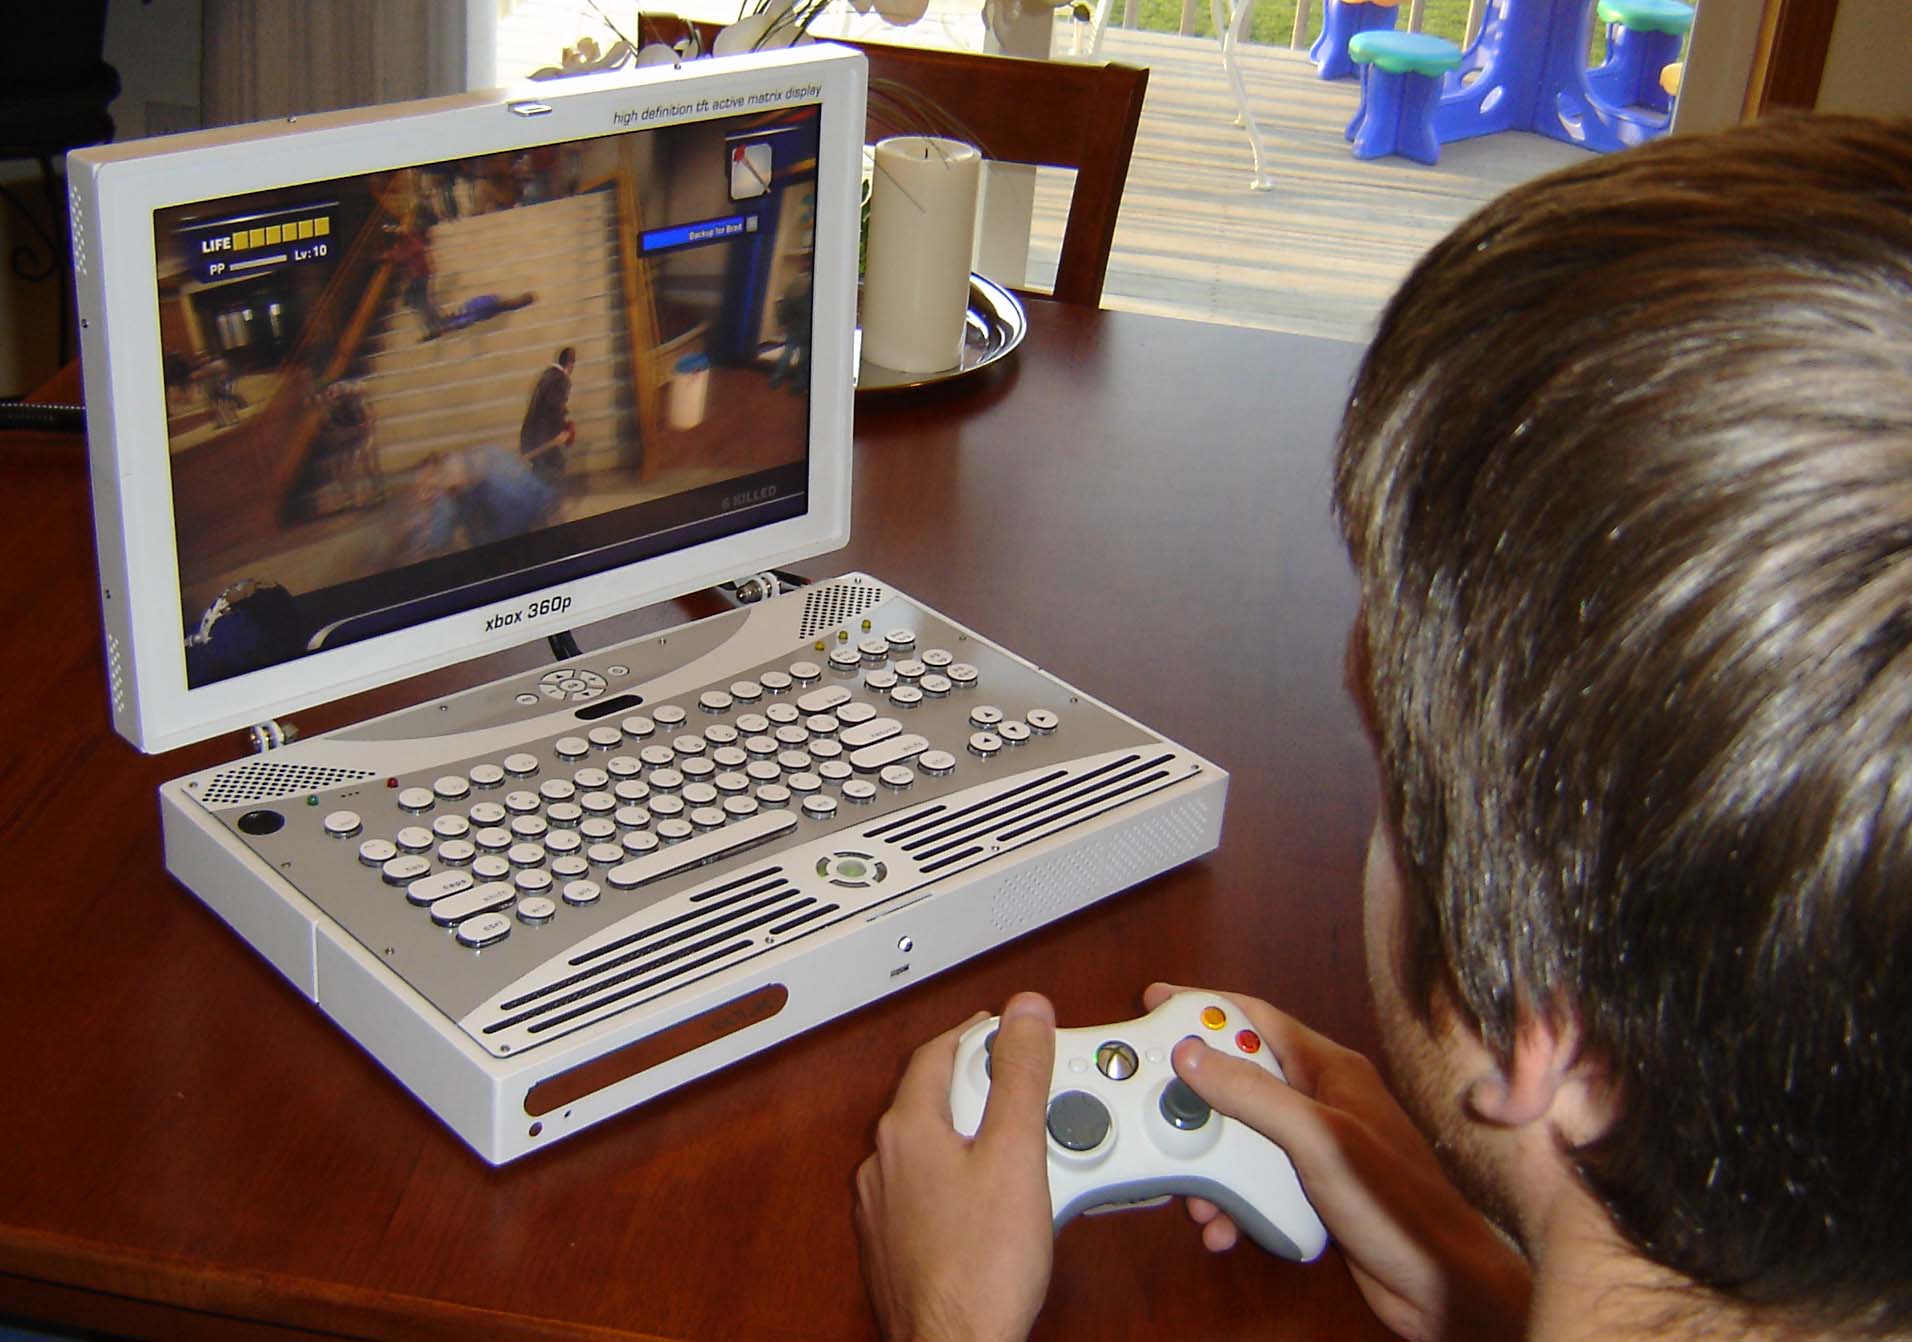
Jason Jones, Xbox fiend, embarking on a Dead Rising zombie killing spree. He's thrilled that he can read the text now.
Credit to Agent 47 for linkage
Results 1 to 10 of 13
-
 Just Thought To Post The Xbox 360 Laptop
Mensioned quite a lot, just thought to post it. It was made by Benheck a while ago
The 1st Page (With links to page 2, 3 , 4 and 5)
Intereasting Parts
Originally Posted by Part 2 Tube Test
Originally Posted by Page 3 Water Cooling
Originally Posted by Page 4 Case Making
Originally Posted by Page 4 First Test
Originally Posted by Page 4 Intereasting... Insides And All..
Kthxbai. Originally Posted by Page 5 Final Assembly
Credit to Agent 47 for linkageLast edited by Fez; 07-08-2007 at 06:23 PM.
-
I thought I posted this a while back when someone asked about it :S
-
Or You Could've Posted The Link Like Someone Else Did Ages Ago Instead Of Trying To Claim Credit.
Also, you could've stopped harassing your shift key. Originally Posted by Nain

-
-
-
-
that guy has too much time om his hands.
-
-
With skills like that, he most probably has too much money on his hands also. Originally Posted by Barkseh
Originally Posted by Nain
-
Capital letters only go at the start of sentences, new lines in a poem or in front of a proper noun. Originally Posted by Purpleness
Anyway, as they said it has been posted before however whoever moved the threads didn't spot it or was too lazy to look through them all.


 Reply With Quote


 Posting Permissions
- You may not post new threads
- You may not post replies
- You may not post attachments
- You may not edit your posts